If you're just stepping into the world of electronics and embedded systems, Arduino UNO R4 Minima is a powerful and affordable board to begin with. It brings all the simplicity of the classic Arduino UNO series, now with an advanced 32-bit microcontroller and expanded capabilities.
In this blog, we’ll walk you through what the UNO R4 Minima is, what’s new, how to set it up, and a few starter project ideas.
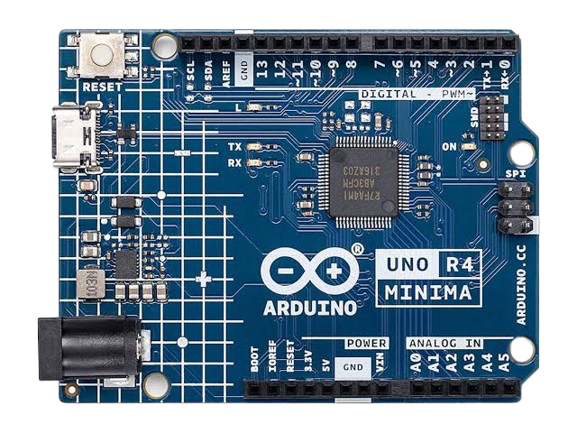
What is Arduino UNO R4 Minima?
The UNO R4 Minima is part of the next-generation Arduino UNO R4 family. Unlike the earlier R3 which used an 8-bit ATmega328P microcontroller, the R4 Minima is powered by a 32-bit Renesas RA4M1 (Arm® Cortex®-M4) processor.
Key Specifications:
Microcontroller: RA4M1 – 32-bit Arm Cortex-M4, 48 MHz
Flash Memory: 256 KB
RAM: 32 KB
Operating Voltage: 5V
Input Voltage: 6–24V
I/O Pins: 14 digital, 6 analog inputs
Connectivity: USB-C
Form Factor: Same as Arduino UNO R3
Note: The R4 Minima has no built-in debugger or network connectivity. It’s perfect for learning and budget projects.
Getting Started – Step by Step
Step 1: Install Arduino IDE
Download the latest version of the Arduino IDE (version 2.x recommended)
Install and launch it.
Step 2: Install Board Support for UNO R4 Minima
- Open Arduino IDE
- Go to Tools → Board → Board Manager
- Search for “Arduino UNO R4 Boards”
- Click Install
Step 3: Connect Your Board
- Use a USB-C cable to connect the UNO R4 Minima to your PC.
- The power LED will light up once connected.
Step 4: Select Board and Port
- In the IDE, go to Tools → Board → Arduino UNO R4 Minima
- Go to Tools → Port and select the correct COM port.
Step 5: Upload Your First Sketch
Try the Blink example code:
void setup() {
pinMode(LED_BUILTIN, OUTPUT);
}
void loop() {
digitalWrite(LED_BUILTIN, HIGH);
delay(500);
digitalWrite(LED_BUILTIN, LOW);
delay(500);
}
Click the Upload button (right arrow). You should see the onboard LED blink.